How to Make 3D Anaglyphs

I’ve used the image above to promote Refrigerator, and once in a while I am asked how it was done. Technically it’s called a stereo anaglyph. When you view it using special glasses with a red filter on the left eye and a blue filter on the right eye, the image appears to be three-dimensional. Here’s what the glasses look like:
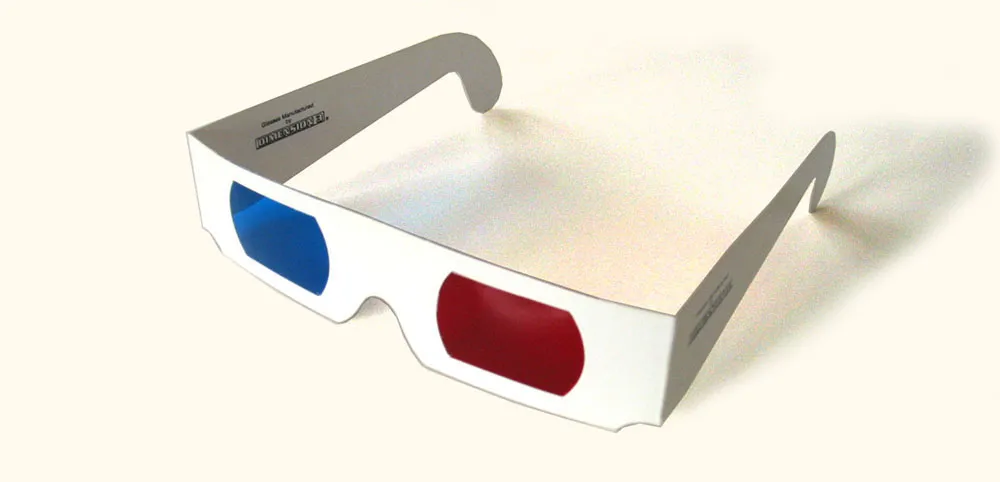
You can get these for free at 3D movies, and sometimes they show up in books or magazines. You can also buy them like this, but you usually can’t buy just one pair. In a pinch, pieces of red and blue clear plastic or cellophane will do.
I’ve seen descriptions of how to make anaglyphic images like this on a computer, but they’re usually presented at a pretty rudimentary level, or make it more complicated than it needs to be. I actually discovered this trick on my own years ago, back when I had a Mac II and the first version of Photoshop. Photoshop was a key since it allowed access to RGB channels separately. (In other software from that time, like PixelPaint or Studio8, you couldn’t do it.)
It’s actually not that hard, once you understand two basic ideas:
1. Your right and left eye see slightly different images. If you alternately shut your left and right eye, you can get a pretty good idea how to the two images differ. For the right eye, closer objects are more to the left and distant objects are more to the right. The opposite is true for the left eye. You can produce these two images lots of different ways including photography, 3D rendering software, or by simply shifting layers in Photoshop. In the case of the fridge, I used a scan of a refrigerator from an old catalog, and did it all in Photoshop by scaling the sides of the fridge either wider or narrower to approximate what each eye would see.
2. The red/blue stereo effect works by overlaying the two images, one in red and the other in cyan. When you put on the glasses, the red lens causes the cyan image to appear in shades of gray and the red image to vanish. The opposite happens with the blue lens. Thus, each of your eyes sees a different image creating the illusion of depth.
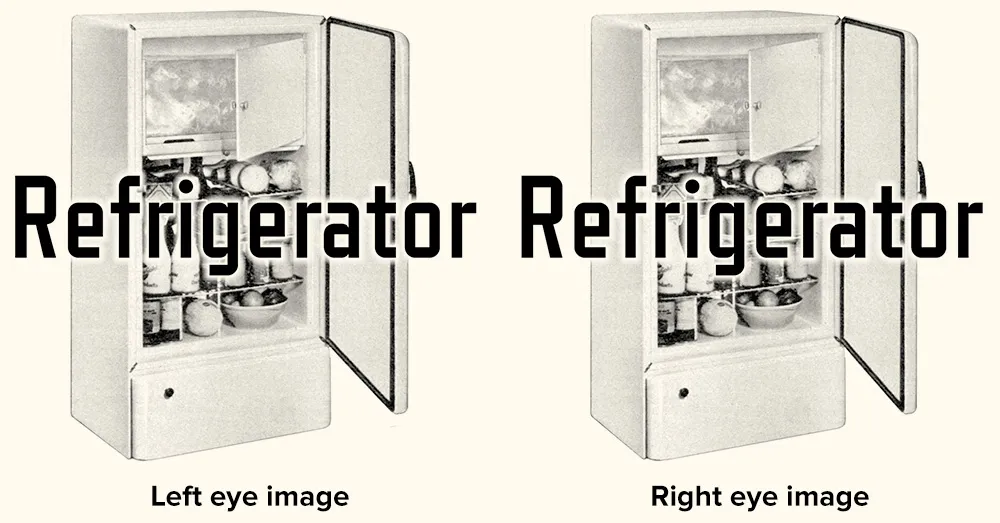
This double red/cyan image can be created easily in Photoshop by starting with the left- and right-eye images as grayscale (like the two above) and a blank RGB image. Paste the left eye image into the red channel and the right eye image into both the blue and green channels. When you view all the channels at once, you will see the overlaid images in a form that will work perfectly with anaglyphic (3D) glasses.
An image created in this way seems to work best when viewed on-screen. Color print-outs don’t work as well. I think this has to do with the way color is produced on a video screen vs. ink on paper. It’s also possible to do full-color images, but they don’t work very well if they have strong colors in them—especially red.
That’s the basic technique. There are lots of little tricks and subtleties of course, but if making anaglyphic images interests you, this should get you started.
I wish there was more need for this kind of image. I’ve sometimes thought about doing a whole 3D website, or seeing if there is a way to get this to work in Flash. Hmm…